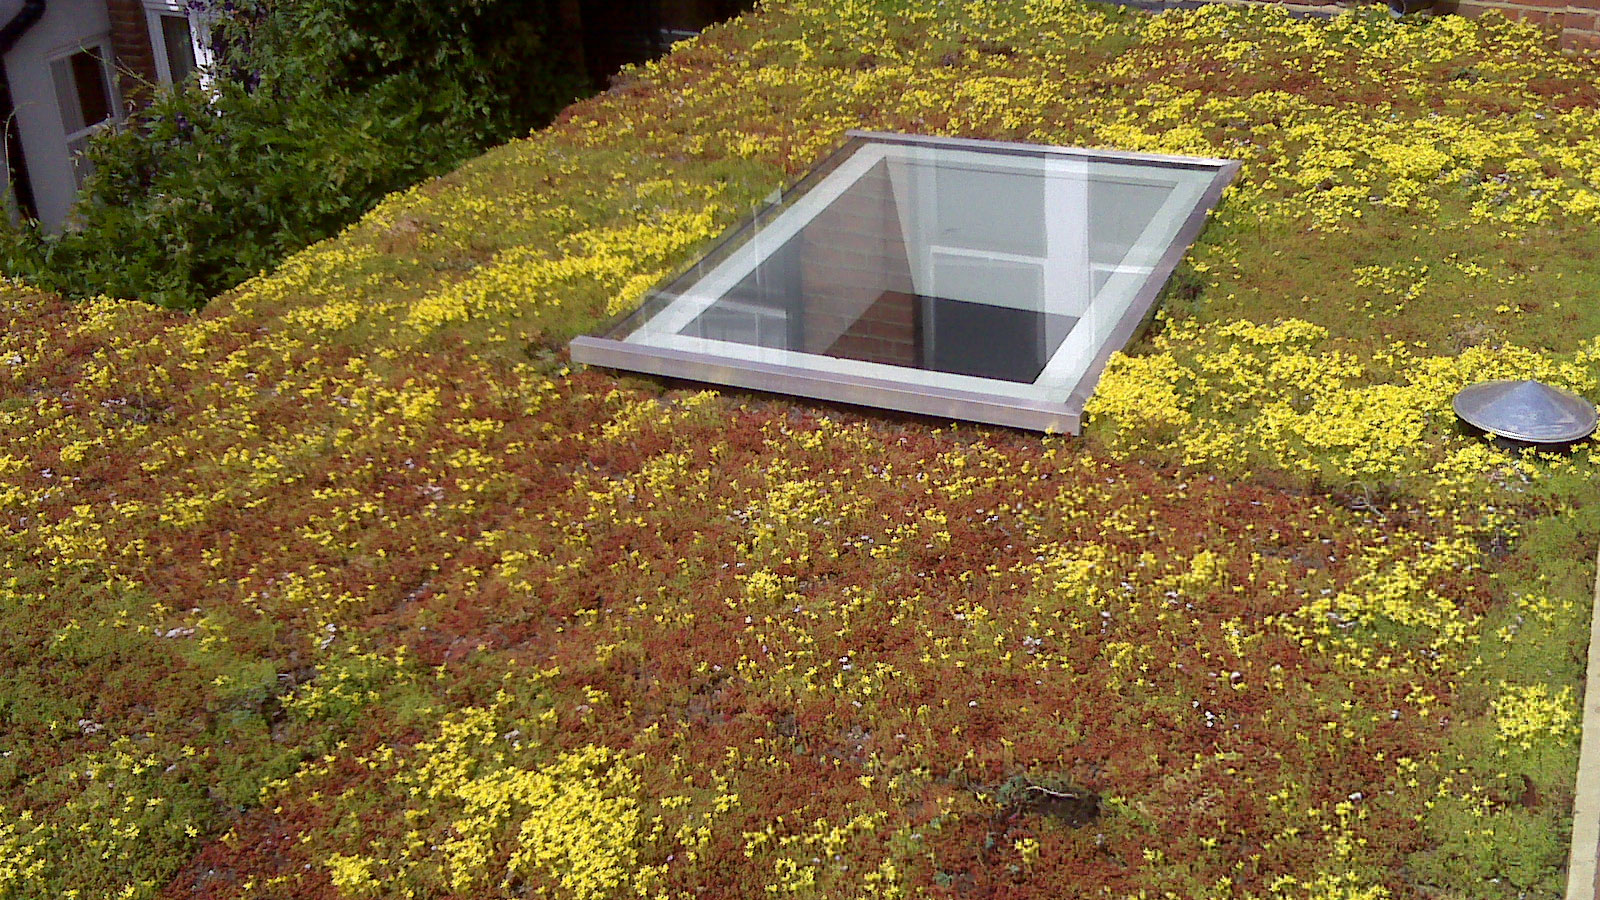
Even hardy sedum and wildflower green roofs will require irrigation during periods of dry weather (3 weeks without rain during spring, summer) or very hot weather. If the roof starts to turn red it is in distress and requires watering.
Simple, manual irrigation
For smaller (typically less than 50m2) easy to access green roofs users should safely gain access to the roof and irrigate manually, e.g. a hosepipe, watering can.
Manual irrigation system
Tap fitting irrigation kit for extensive green roofs with standard fittings and 180° spray nozzles and 16mm pipe. For attaching to garden tap fitting for ad hoc manual irrigation (supplied without water filter).
Assembly instructions
Please see the video to the right
Unpacking
Lay out all of the components and familiarize yourself with all of the parts.
Supply
To reach a ground level water supply from a rooftop we recommend you run your 16mm piping down some existing vertical guttering. Check your water pressure: it needs to be at least 1bar.
Laying your pipe
Lay piping at the same time as you are laying your trays. Line up your 16mm piping flat on the ground, laying it in between the trays.
Positioning your risers
180° risers will produce a 3m spray arc on a standard 2 bar pressure tap. Position the risers, so that the jets overlap ensuring all of the green roof gets adequate water.
Pierce piping
Use the yellow barbed key to puncture your 16mm pipe ensuring your holes are no more than 3m apart so their sprays overlap.
Attach jet to riser
Insert the vertical rigid riser into the hole you have created in the pipe, then screw clockwise. Point the jets away from walls and upstand.
Attach riser
Select the appropriate Vari-jet nozzle for your tray layout (360° or 180° if up against a wall) and attach to the top of your riser.
A 90° jet is also available.
Pipe joiners
3 x types of joiner are supplied to allow you to extend/change the direction of irrigation:
- Straight
- Elbow (right angle)
- T-junction
- Plumbing
Connect to your water source: insert your 16mm pipe directly into your tap connection (filter optional).
Filter system (optional)
We recommend a filter system, to be fitted between the tap and your piping, in order to prevent the jets clogging with grit or hard water.
Terminate your system
Insert the straight-ended stopper into the piping to terminate the system.
Automated holistic irrigation system
Bespoke, sophisticated irrigation systems designed by horticultural and irrigation experts. Roof scale plans would need to be reviewed to produce specific, tailored irrigation system suited to the individual aspects and constraints of the roof. Aspects such as size, height, orientation and exposure, water pressure etc. are considered when designing the system.
Web based control systems which monitor substrate moisture levels, leak detection and irrigation schedule are available. A large range of different designs at different price levels are available.
These systems are typically for largescale green roofs.
Please click here for more information.


