Drainage
Drainage Channel
Channels surface water to outlets
- Includes anti-slip galvanized steel grate
- Channels surface water to outlets
- Quick and easy installation
- 1m sections simply join together to create seamless channel
- Suitable for pedestrian and lightly trafficked areas
- CE marked and fully certified to Load Class A15 BS EN 1433
- Eco-friendly and 100% recyclable
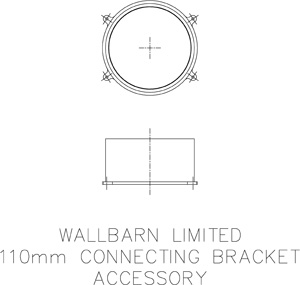
- Accessory pack available for drainpipe connection (see below)

Applications:
- Domestic applications: driveways, gardens & patios
- Public areas: pedestrian walkways, recreational areas, schools, parks and playing fields
Dimensions
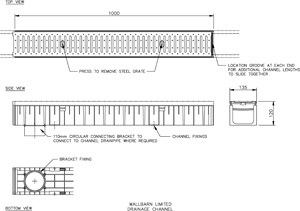
- Outer dimensions: 120mm high x 92mm wide
- Inner dimensions: 92mm high x 72mm wide
- Length: 1,000mm
Material
- Channel: High Density Polyethylene (HDPE)
- Grate: Galvanised Steel
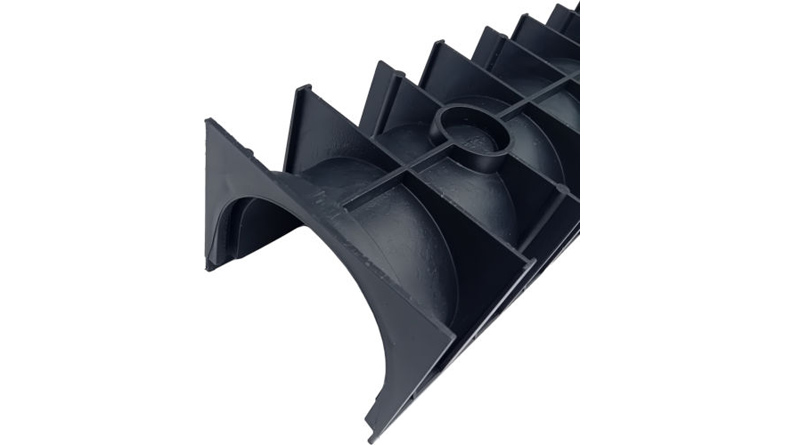
Connect individual channels together using tongue and groove section at each end to create longer drainage trenches
Installation
Mark out a trench that is wide enough for your channel drain and at least 100mm of concrete backfill on each side to hold it firmly in place (see illustration, X/Z values). Prepare the base. The channel drain should be assembled after connecting the two half-circle pieces and fixing them to the bottom of the channel drain with four screws.
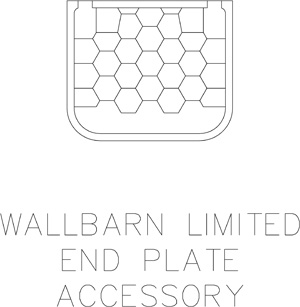
To connect the outlet to a main drain or soakaway, the bottom of the channel can be pierced with a hammer at the pre-marked sections. Lay the channel drain lengths into the trench, starting with a full length at the lowest point, and connect them up, adjusting the base layer as needed to allow for a fall of 5mm for every 1m length of drain. When connecting the 1 metre lengths together, simply slot together end to end. The top of the channel drain grate should sit at least 2mm below the surface level. Add end caps as needed. Backfill around the channel drain. The channel can be cleaned by removing the gratings.
NBS Source
BIM Library
A15 Drainage Channel CAD Drawings
| Storage: | On pallets under dry conditions, protected against atmospheric exposure and heat sources. |
|---|---|
| Health & Safety: | No labelling required in accordance with the relevant regulation (EC) No. 1907/2006 of the European Parliament and of the Council (REACH). |
| Specification: | EN 1433 |
| Guarantee: | In accordance with the current legislation and the conditions of the distributor. The observation of the applicable rules of the product and presentation of the invoice constitutes a prerequisite for possible future warranty claims. |
Brochures
Technical Datasheet
O & M Manual
Mark out a trench that is wide enough for your channel drain and at least 100mm of concrete backfill on each side to hold it firmly in place (see illustration, X/Z values). Prepare the base. The channel drain should be assembled after connecting the two half-circle pieces and fixing them to the bottom of the channel drain with four screws.
To connect the outlet to a main drain or soakaway, the bottom of the channel can be pierced with a hammer at the pre-marked sections. Lay the channel drain lengths into the trench, starting with a full length at the lowest point, and connect them up, adjusting the base layer as needed to allow for a fall of 5mm for every 1m length of drain. The top of the channel drain grate should sit at least 2mm below the surface level. Add end caps as needed. Backfill around the channel drain. The channel can be cleaned by removing the gratings.


