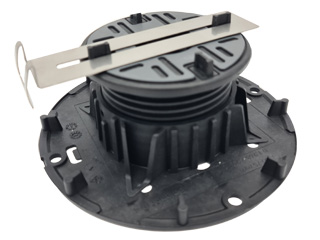
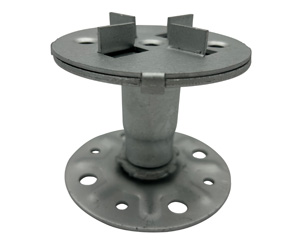
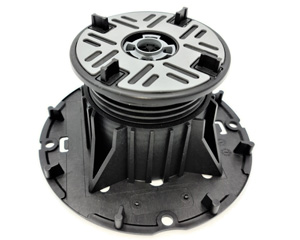
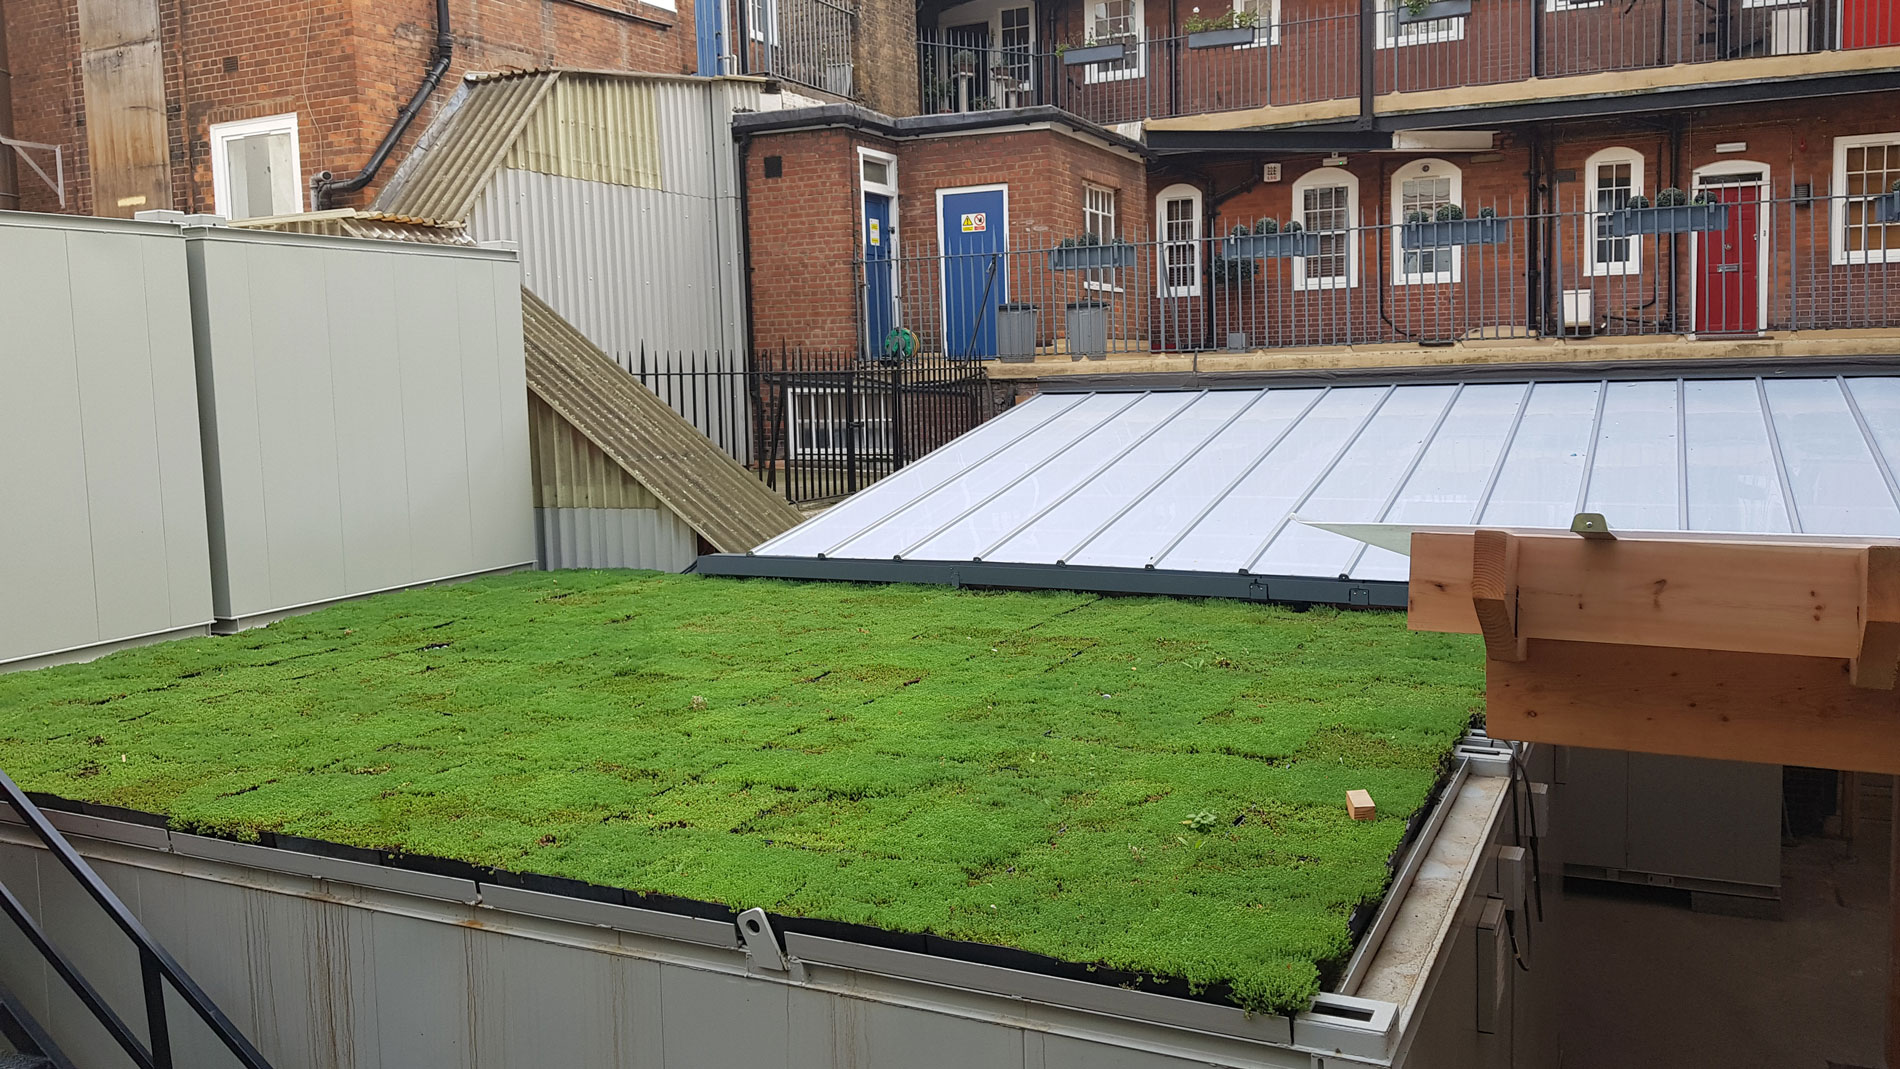
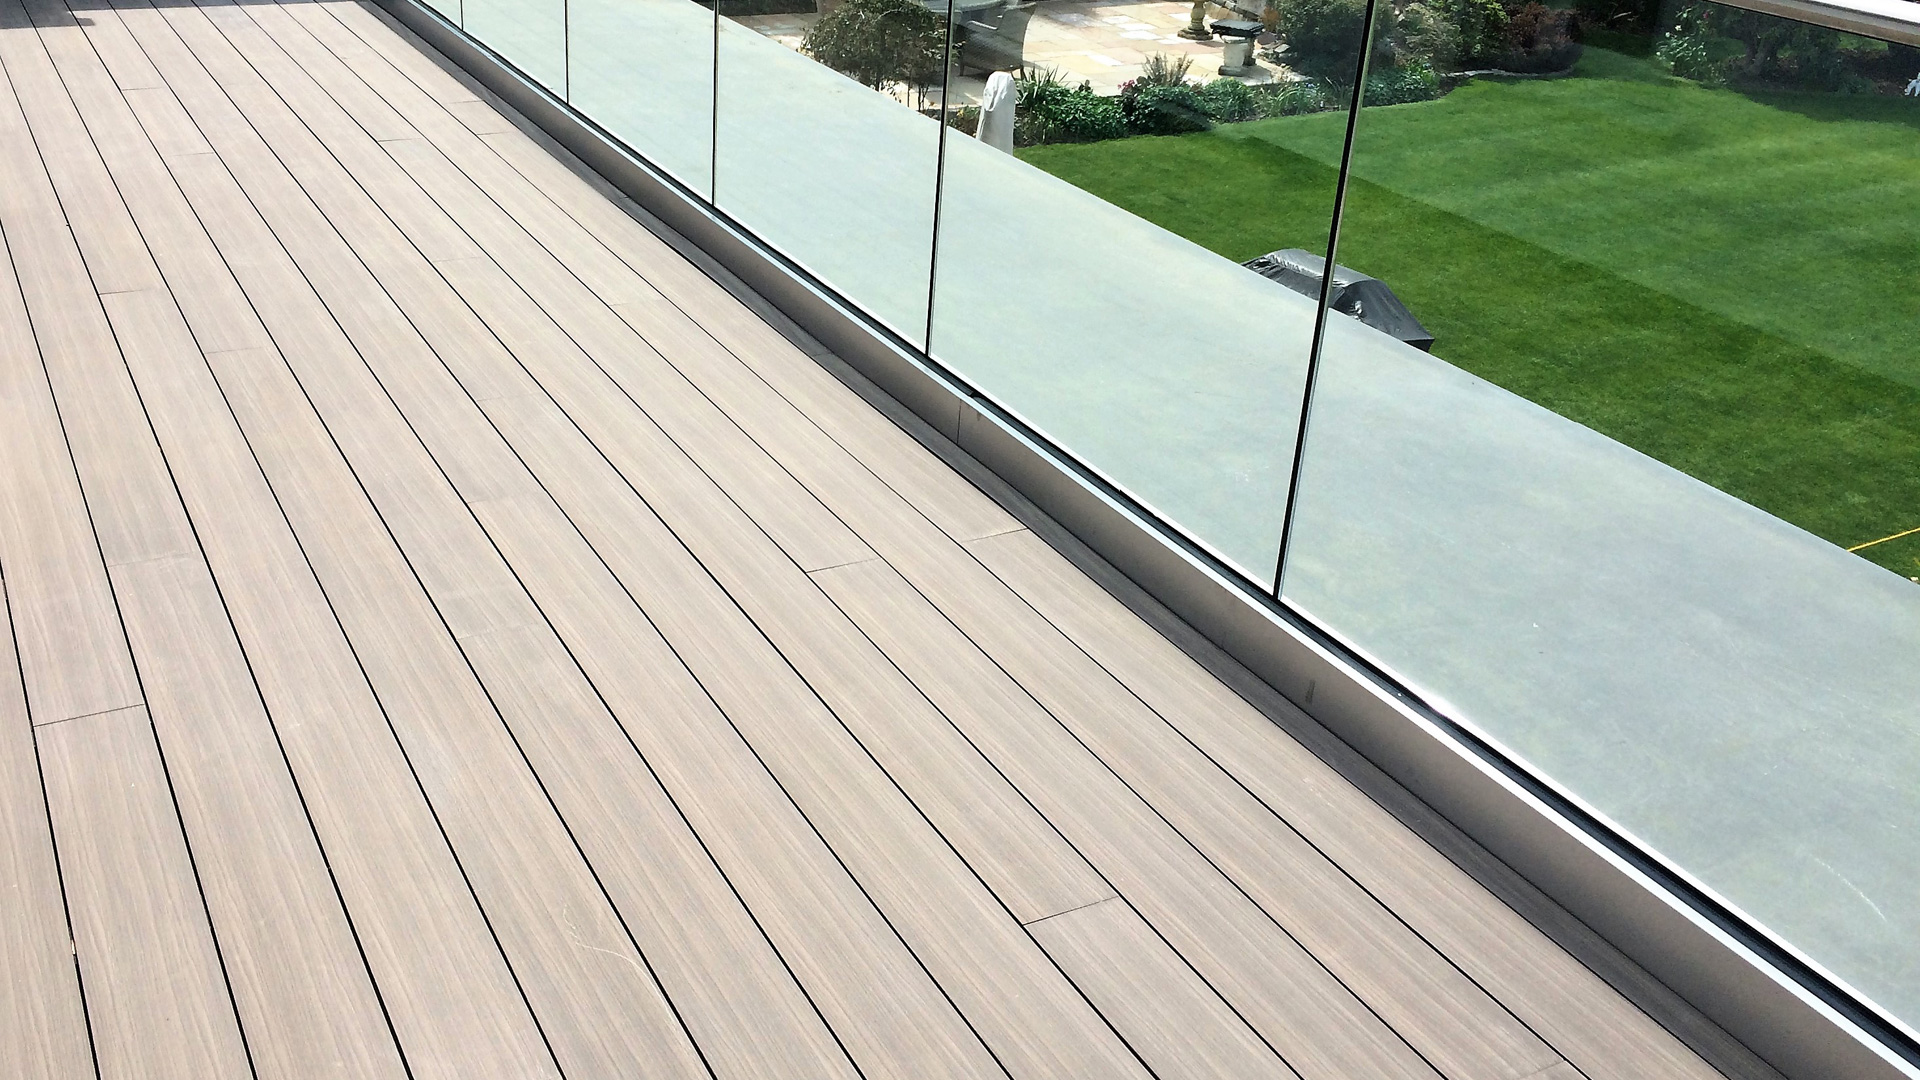
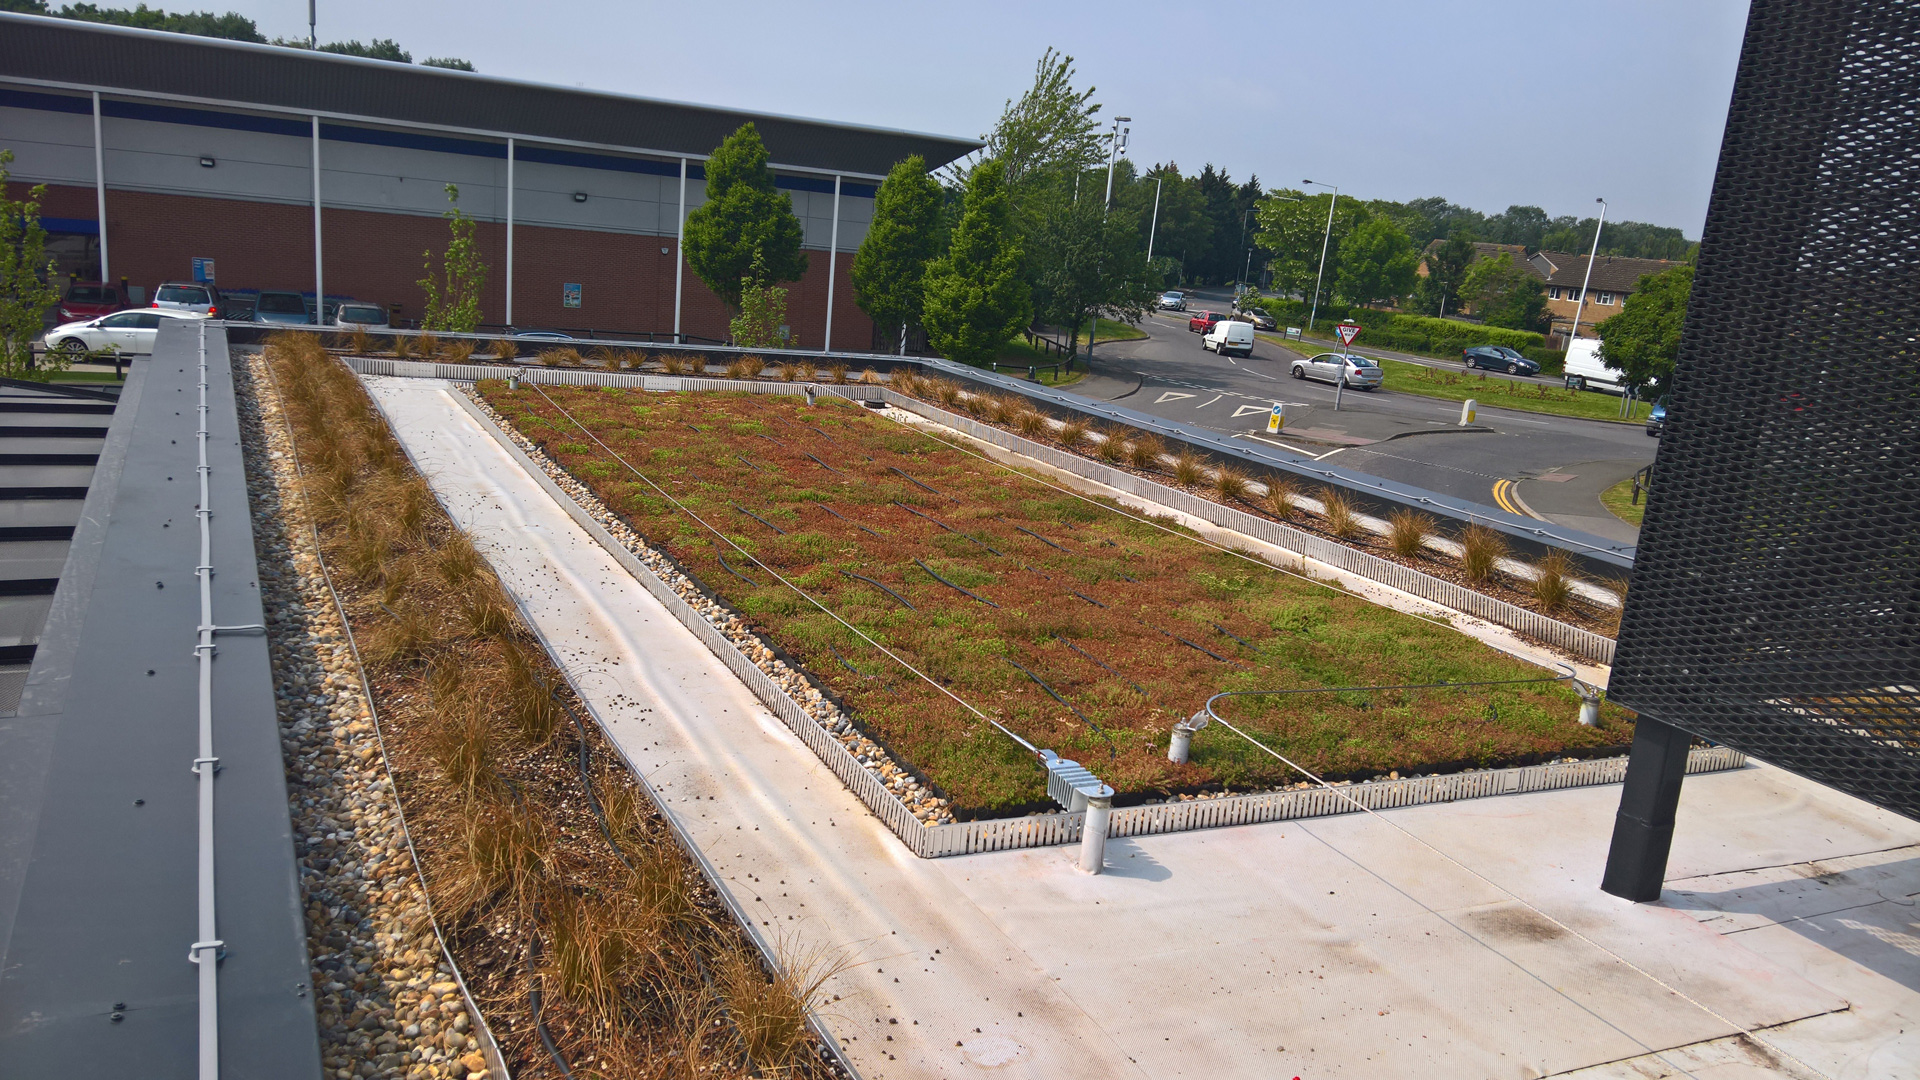
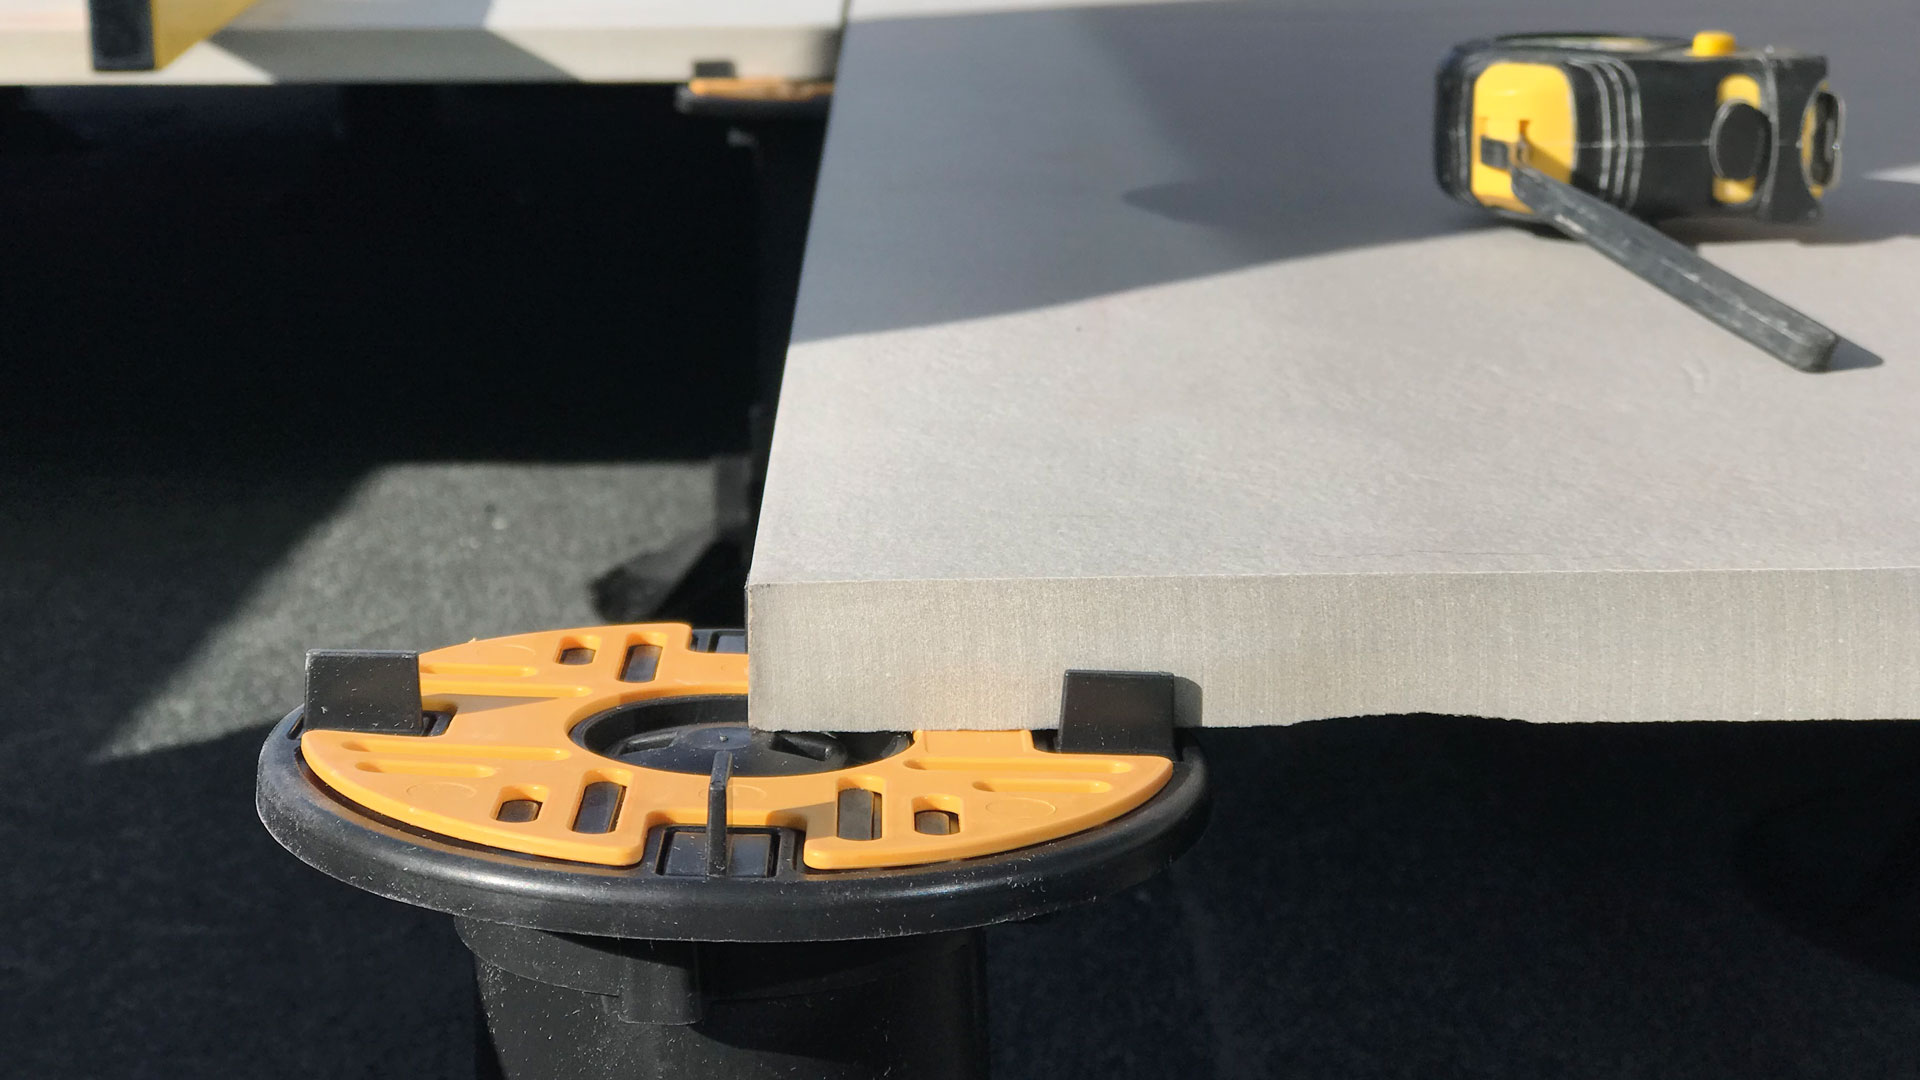
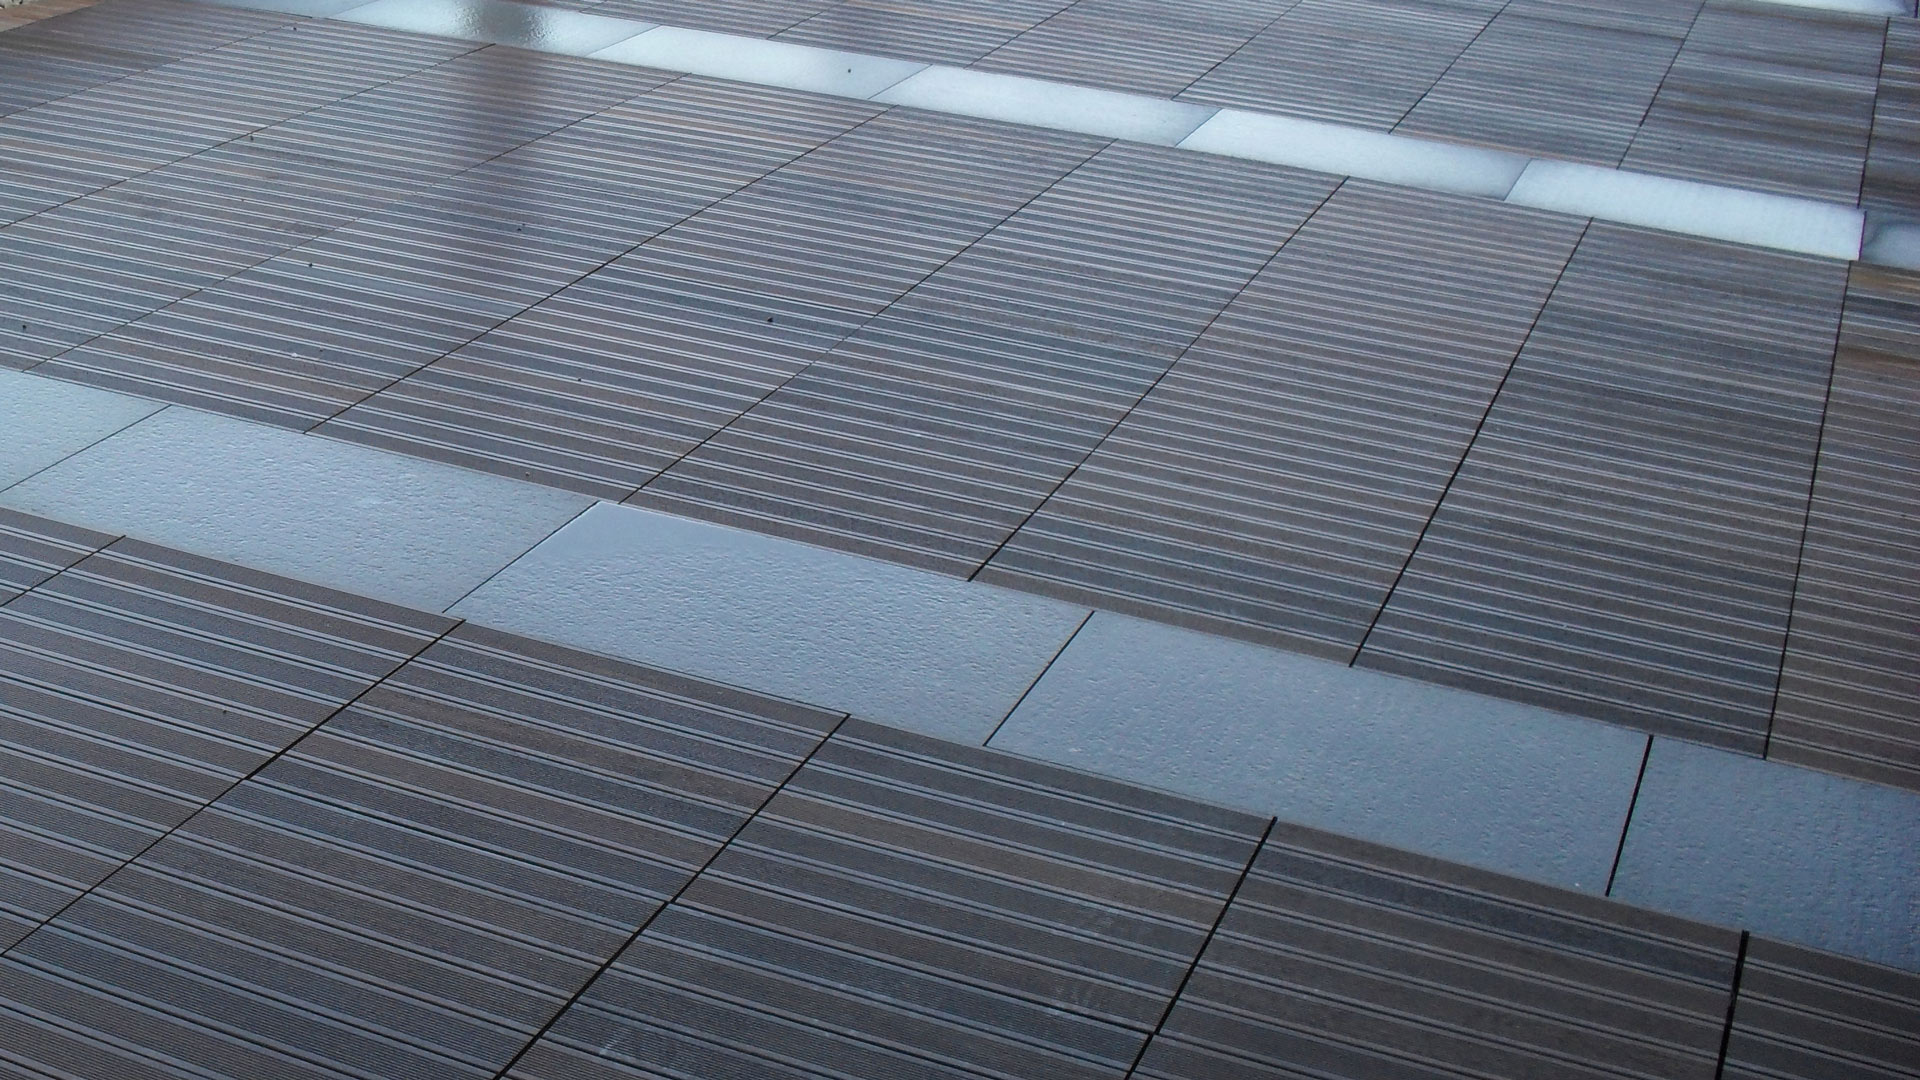
When it comes to laying paving slabs or timber decking on flat surfaces like rooftops, balconies, or terraces, Wallbarn’s Minipad Adjustable Pedestals offer an ingenious solution. These pedestals, meticulously crafted from virgin fibre injection-moulded polypropylene, facilitate the creation of a suspended system that protects the underlying surface while ensuring optimal drainage. Designed with both aesthetics and functionality in mind, these pedestals empower you to achieve precise height adjustments down to the millimetre, resulting in a truly professional finish.
Benefits of Adjustable Pedestals
Opting for Wallbarn’s adjustable pedestals presents a multitude of advantages over traditional fixed-height alternatives. Their versatility allows for seamless installation in confined spaces, making them an ideal choice for overlaying and retrofitting projects where height restrictions are a concern. Furthermore, these pedestals eliminate the need for constant slab lifting, as height adjustments can be made while the paving or decking remains in situ, streamlining the installation process and minimising delays.
Pedestal Specifications
Wallbarn’s Minipad Adjustable Pedestals are available in a range of sizes to cater to diverse project requirements. The range includes:
- 10mm – 20mm
- 10mm – 25mm
- 22mm – 30mm
- 28mm – 40mm
With a generous head and base diameter of 150mm, these pedestals boast an impressive weight tolerance of 683kg and a maximum load capacity of 1,171kg, ensuring durability and stability. Additionally, they can withstand temperatures ranging from -40°C to +75°C, making them suitable for a wide array of climatic conditions.
Pre-Installation Considerations
Before embarking on the installation process, it is crucial to assess the site conditions and gather the necessary tools and materials. Ensure that the surface onto which the pedestals will be placed is flat, hard, and structurally sound. Non-compacted earth or unstable surfaces should be avoided, as they may compromise the integrity of the installation.
Gather the following tools and materials:
- Wallbarn Minipad Adjustable Pedestals (in the desired size range)
- Paving slabs or timber decking
- Tape measure
- Level
- Rubber mallet (optional)
Step-by-Step Installation Guide
Follow these step-by-step instructions to ensure a seamless and professional installation of Wallbarn’s Minipad Adjustable Pedestals:
1. Plan the Layout
Begin by planning the layout of your paving or decking area. Determine the desired pattern and spacing between the pedestals, taking into account the dimensions of the slabs or boards you will be using. It is recommended to consult Wallbarn’s guidelines or seek professional advice for optimal pedestal spacing and distribution.
2. Prepare the Surface
Ensure that the surface onto which the pedestals will be placed is clean, level, and free from debris. If necessary, use a broom or vacuum to remove any loose particles or obstructions that may interfere with the installation process.
3. Position the First Pedestal
Start by positioning the first pedestal at one corner of the designated area. Adjust the height of the pedestal to the desired level by turning the threaded stem clockwise or counterclockwise. Utilise a level to ensure that the pedestal is perfectly horizontal, as this will serve as the reference point for the rest of the installation.
4. Establish a Consistent Grid Pattern
From the first pedestal, establish a consistent grid pattern by positioning the subsequent pedestals at the predetermined spacing intervals. As you progress, use a level to ensure that each pedestal is aligned with the previous ones, maintaining a uniform height across the entire area.
5. Adjust Heights as Needed
If you encounter slight variations in the surface level, Wallbarn’s Minipad Adjustable Pedestals allow for precise height adjustments. Utilise the threaded stem to raise or lower individual pedestals as needed, ensuring that the overall surface remains level and consistent.
6. Install the Paving Slabs or Timber Decking
Once the pedestals are in place and levelled, you can begin installing the paving slabs or timber decking. Carefully place the slabs or boards onto the pedestals, ensuring that they are securely supported and level. If necessary, use a rubber mallet to gently tap the slabs or boards into place, taking care not to damage the pedestals or the surface material.
7. Final Adjustments and Inspection
After installing the paving or decking, perform a final inspection to ensure that the surface is level and free from any irregularities. Make any necessary adjustments to the pedestal heights, ensuring a seamless and professional finish.
Maintenance and Care
Wallbarn’s Minipad Adjustable Pedestals are designed to provide long-lasting performance with minimal maintenance requirements. However, it is recommended to periodically inspect the installation for any signs of damage or instability. If necessary, adjust the pedestal heights or replace any damaged components to maintain the integrity of the system.
Conclusion
By following this comprehensive step-by-step installation guide, you can confidently and efficiently install Wallbarn’s Minipad Adjustable Pedestals, creating a stunning and functional paved or decked area. With their superior quality, adjustability, and ease of installation, these pedestals offer a versatile solution for a wide range of projects, ensuring a professional finish that will withstand the test of time.


