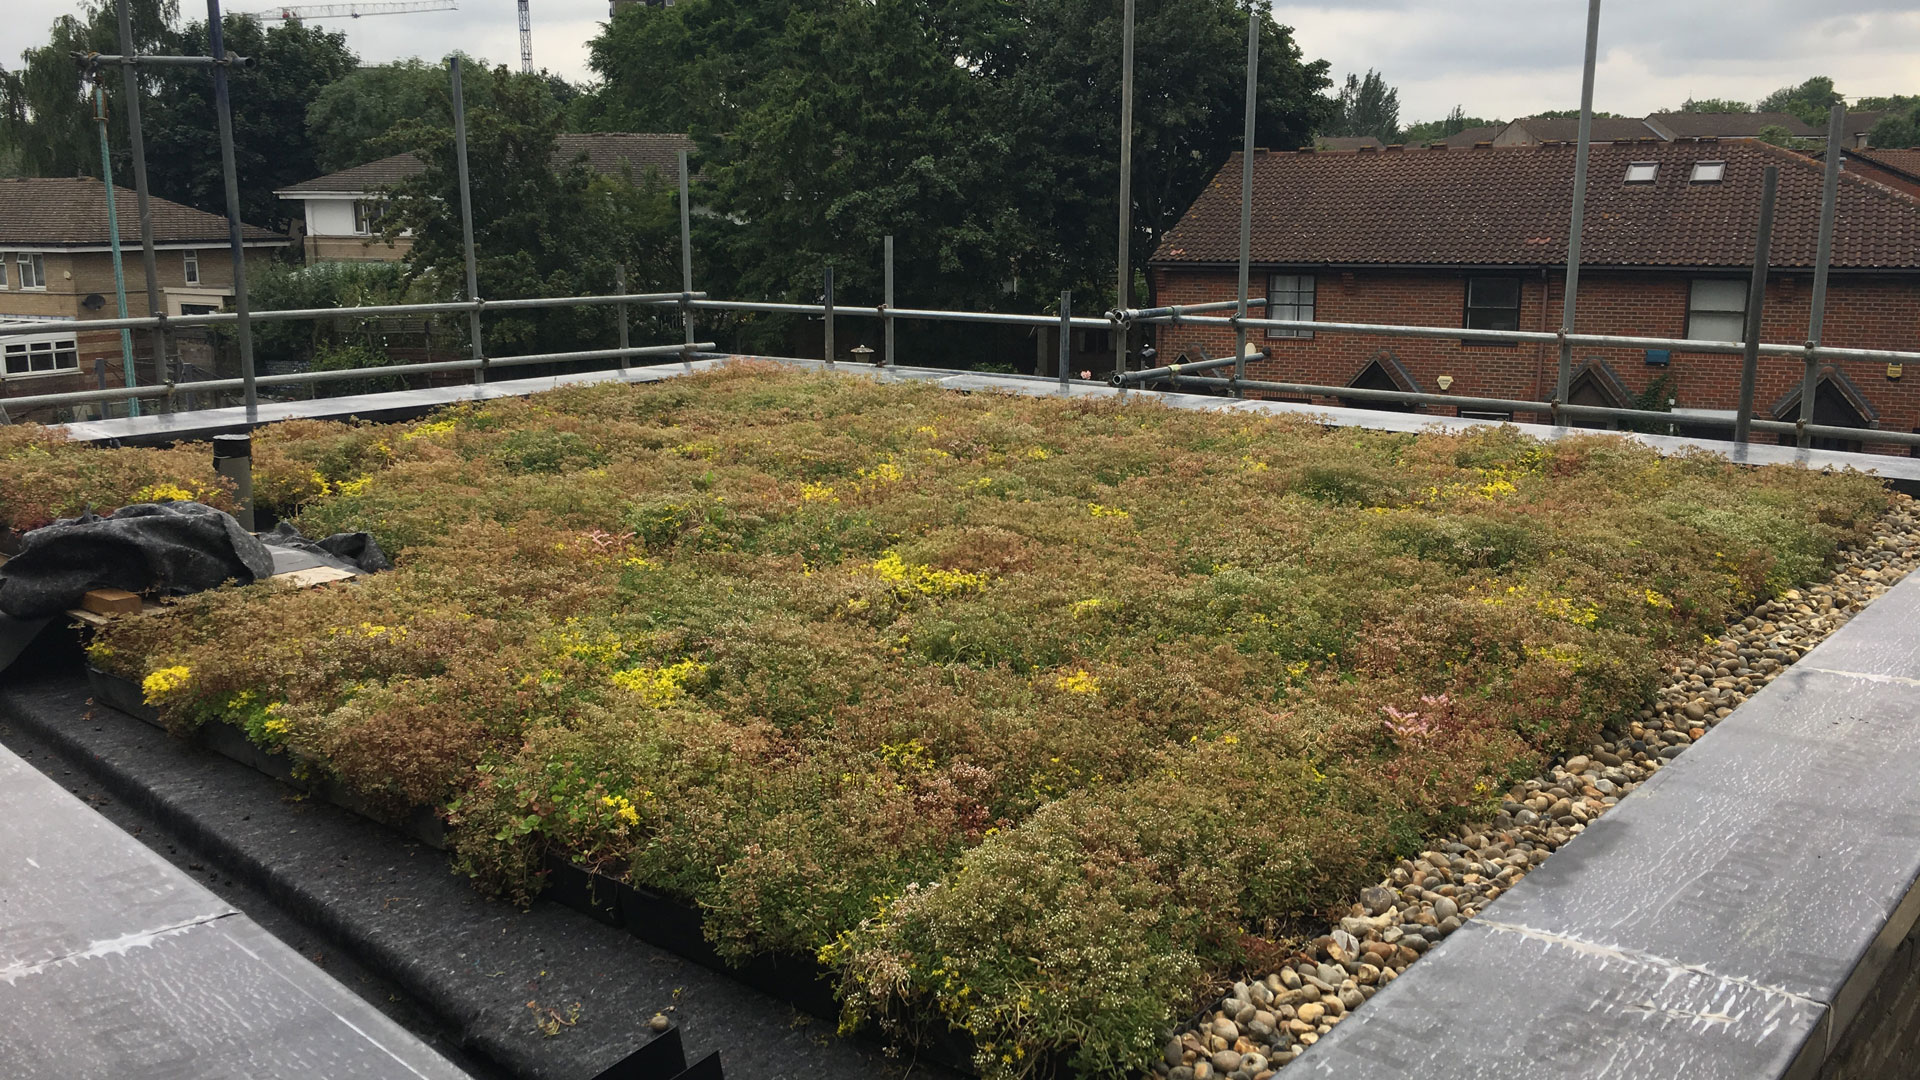
Our M-Tray® green roof system consists of specially-designed modular trays containing superior, engineered substrate and fully established flowering sedum. A successful installation will ensure that you install a perfect green roof which is designed for longevity along with being future-proofed.
Read on to see how to install the perfect green roof below.
Below you will find the basic steps for successfully installing a modular green roof.
Alternatively, watch one of our videos
M-Tray® modules are transported to site on strapped pallets for an easy, clean delivery. They can then be craned safely onto the roof if necessary.
Unpacking the pallets is a simple process. None of the contents will spill out and each module can be carried by one person.
A separation and filtration geotextile layer should be first installed. This protects the waterproofing and prevents abrasive damage. Wallbarn usually supplies a 300gsm recycled fleece for this purpose
Start from the middle of the green roof and work outwards towards the edges. Place a module down and then click the next into place. There are two connection points on two sides of each module. Once connected up on all four sides, the module will be secured on all four sides.
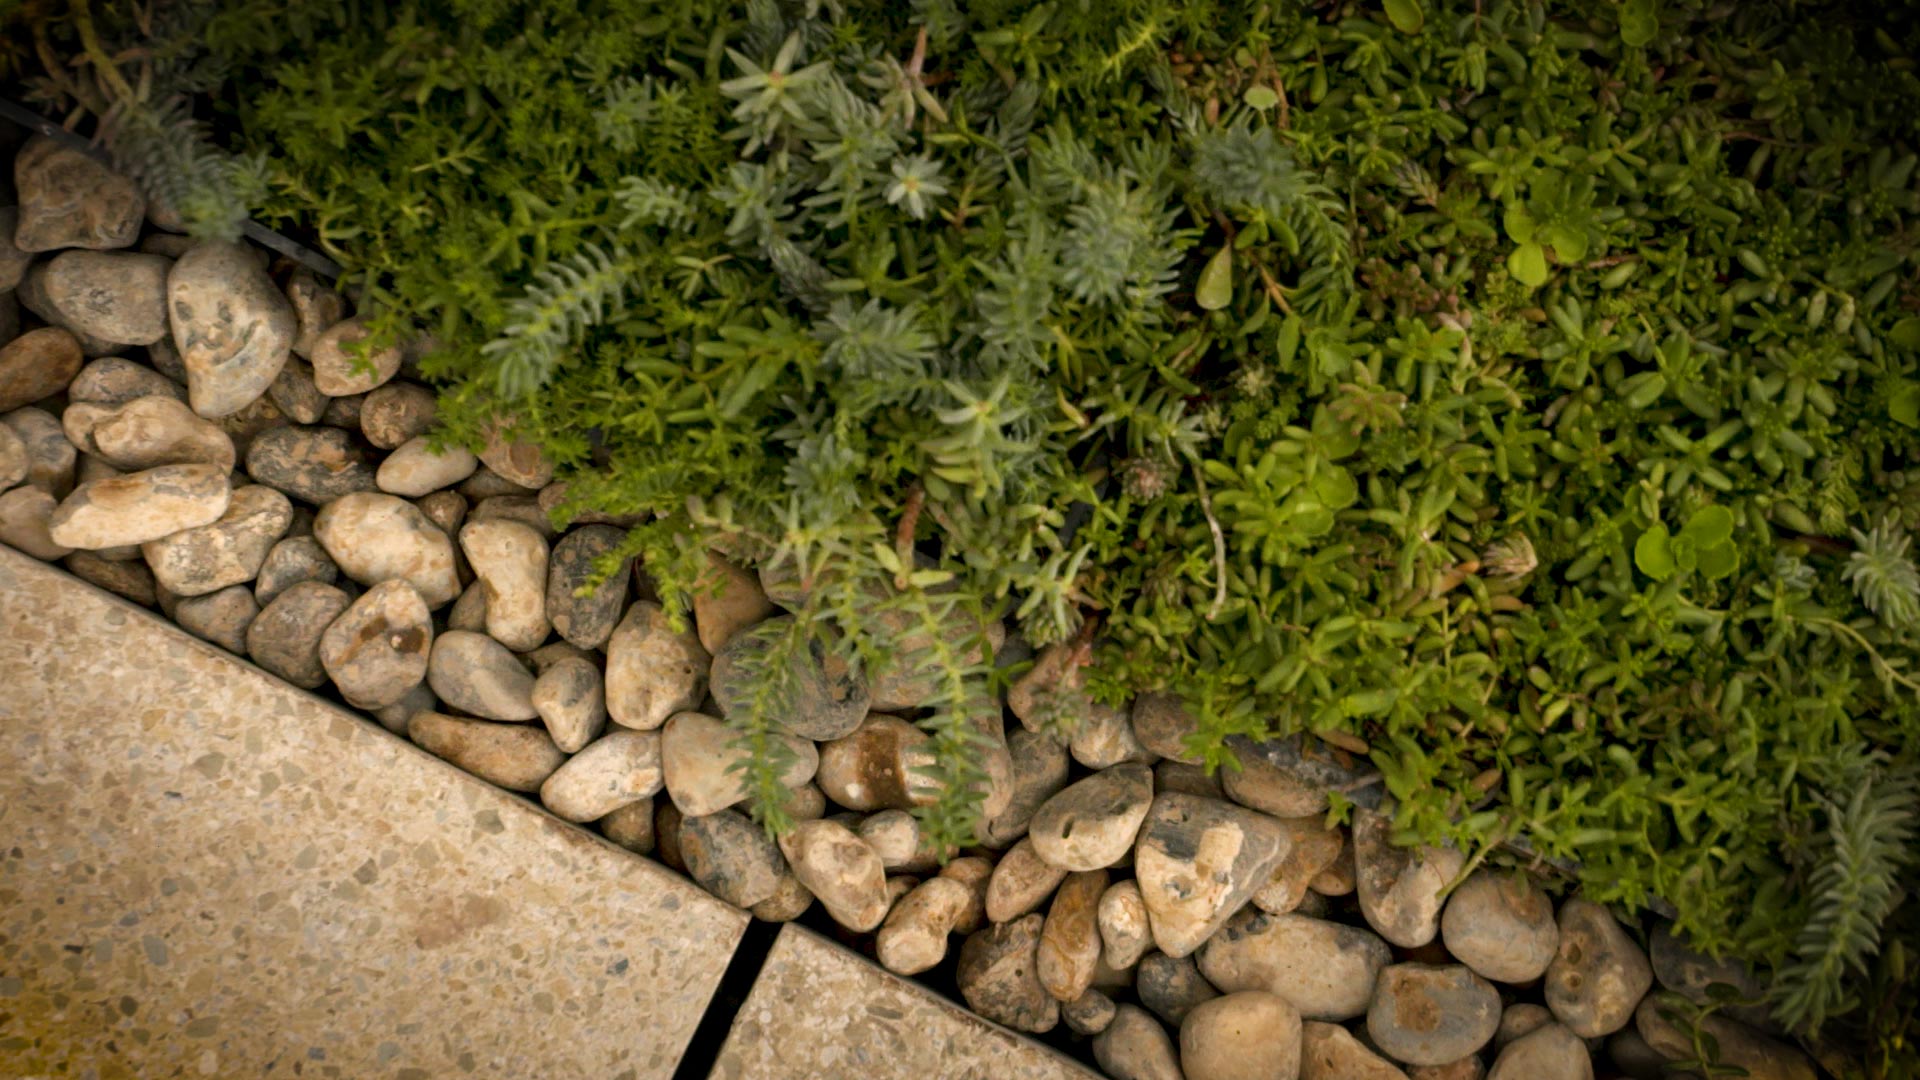
An aluminium edge trim can be added to any exposed edges or where the stones need to held away from objects such as drainage outlets.
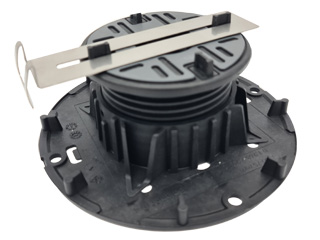
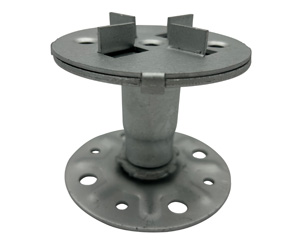
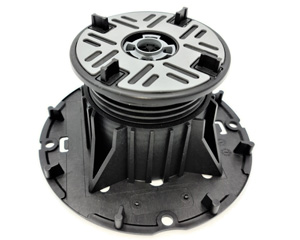
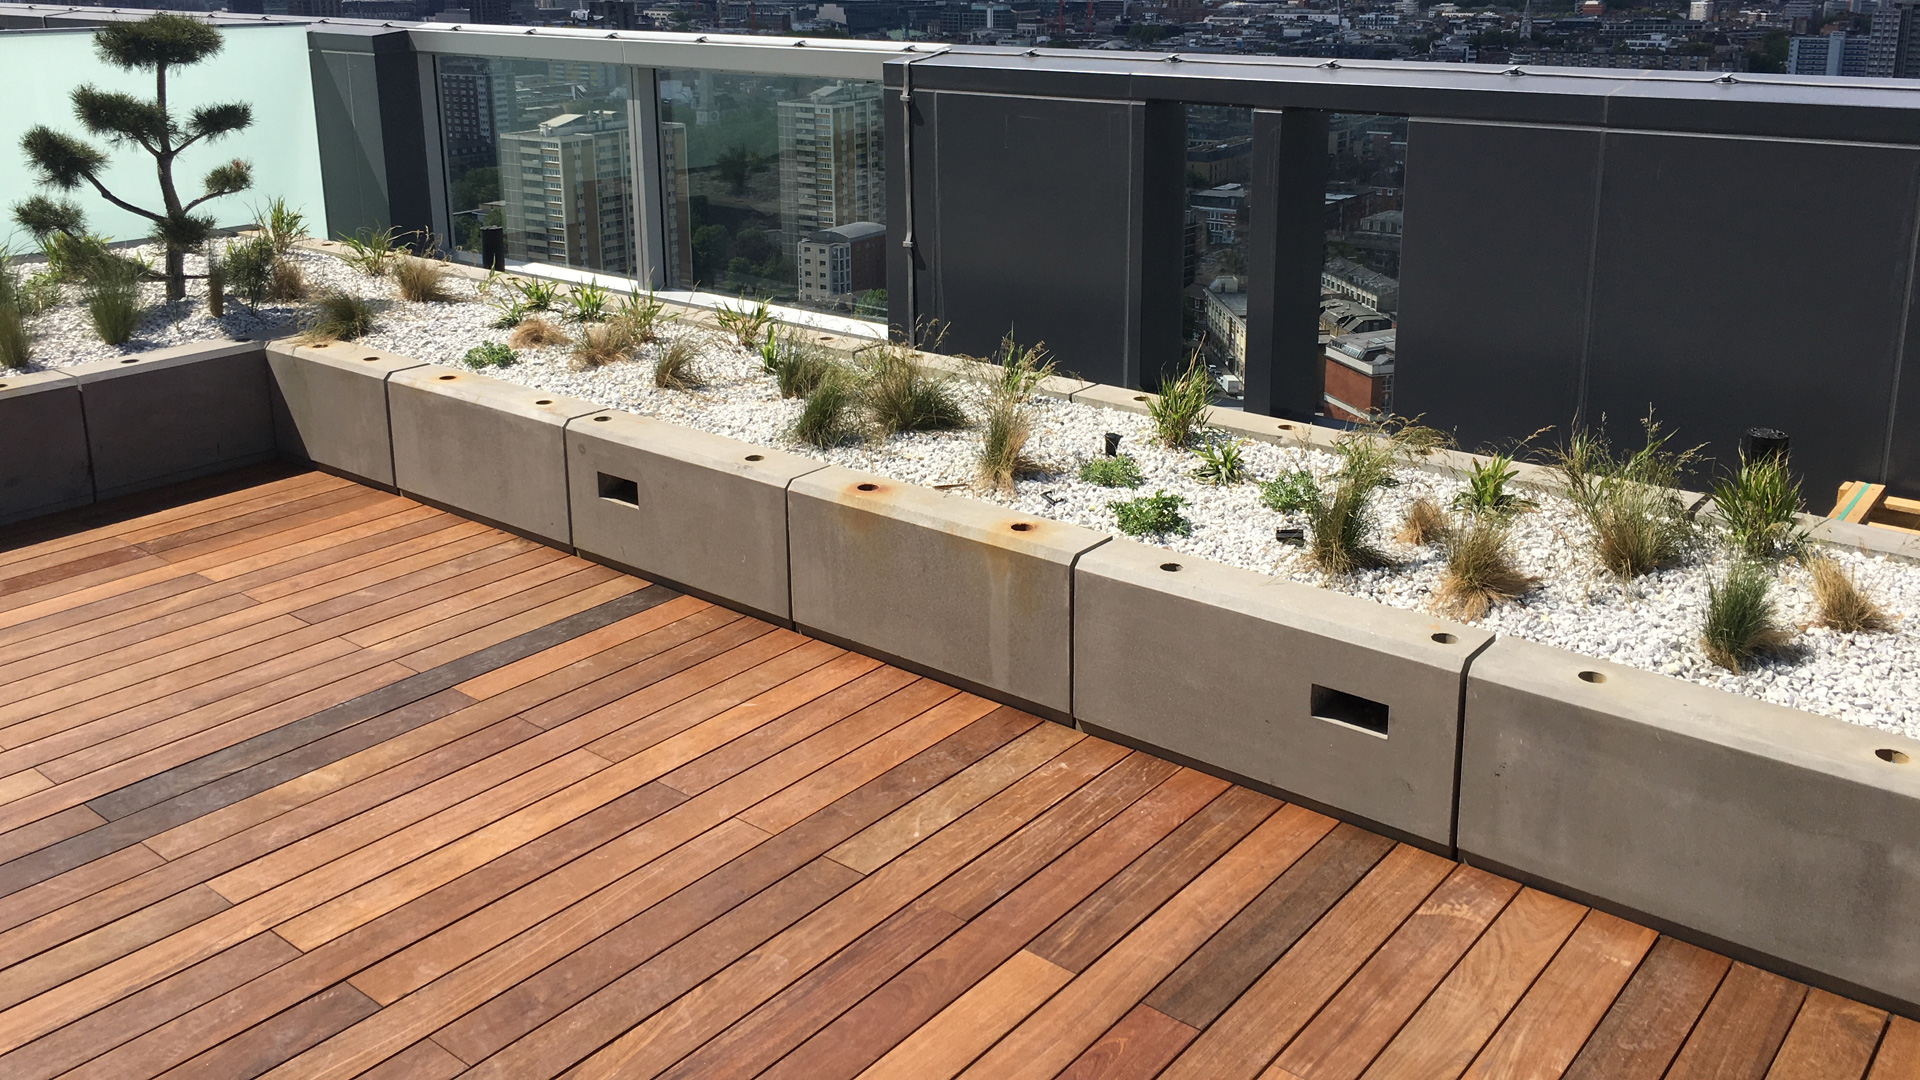
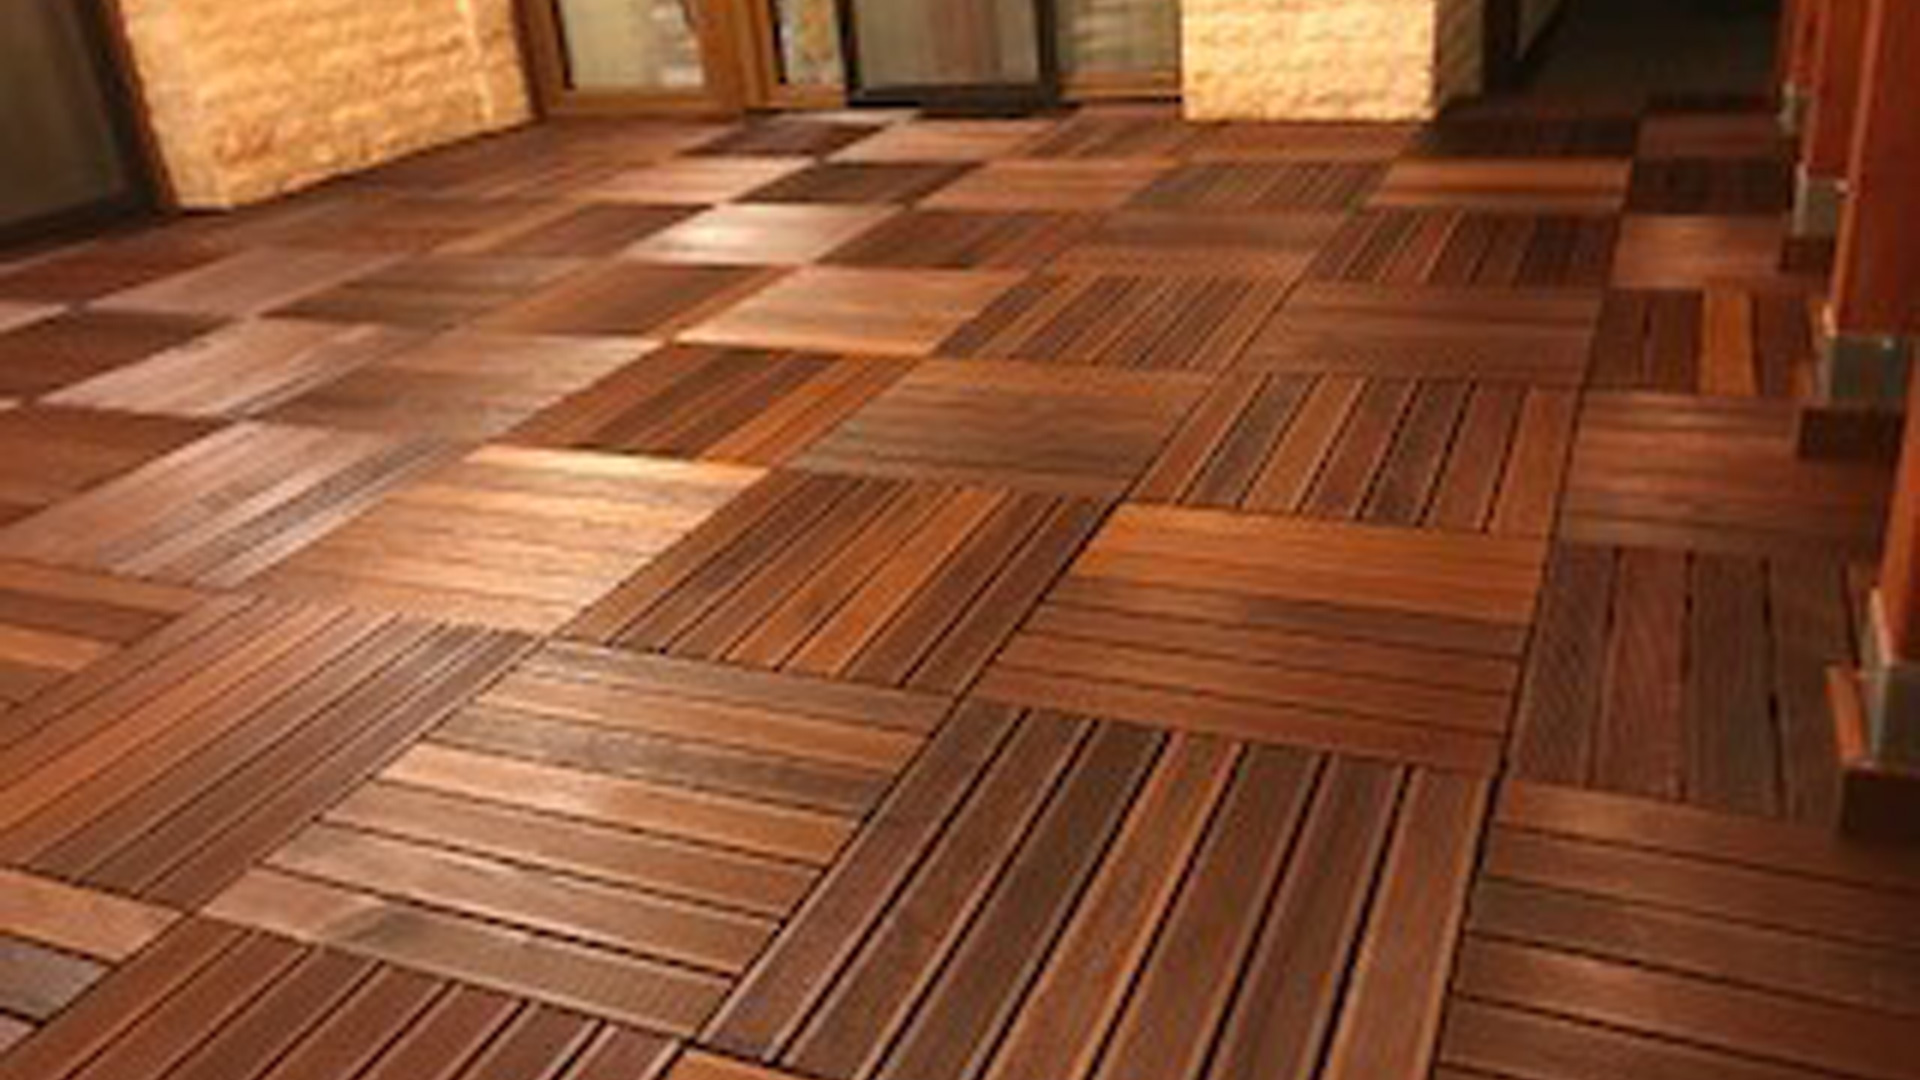
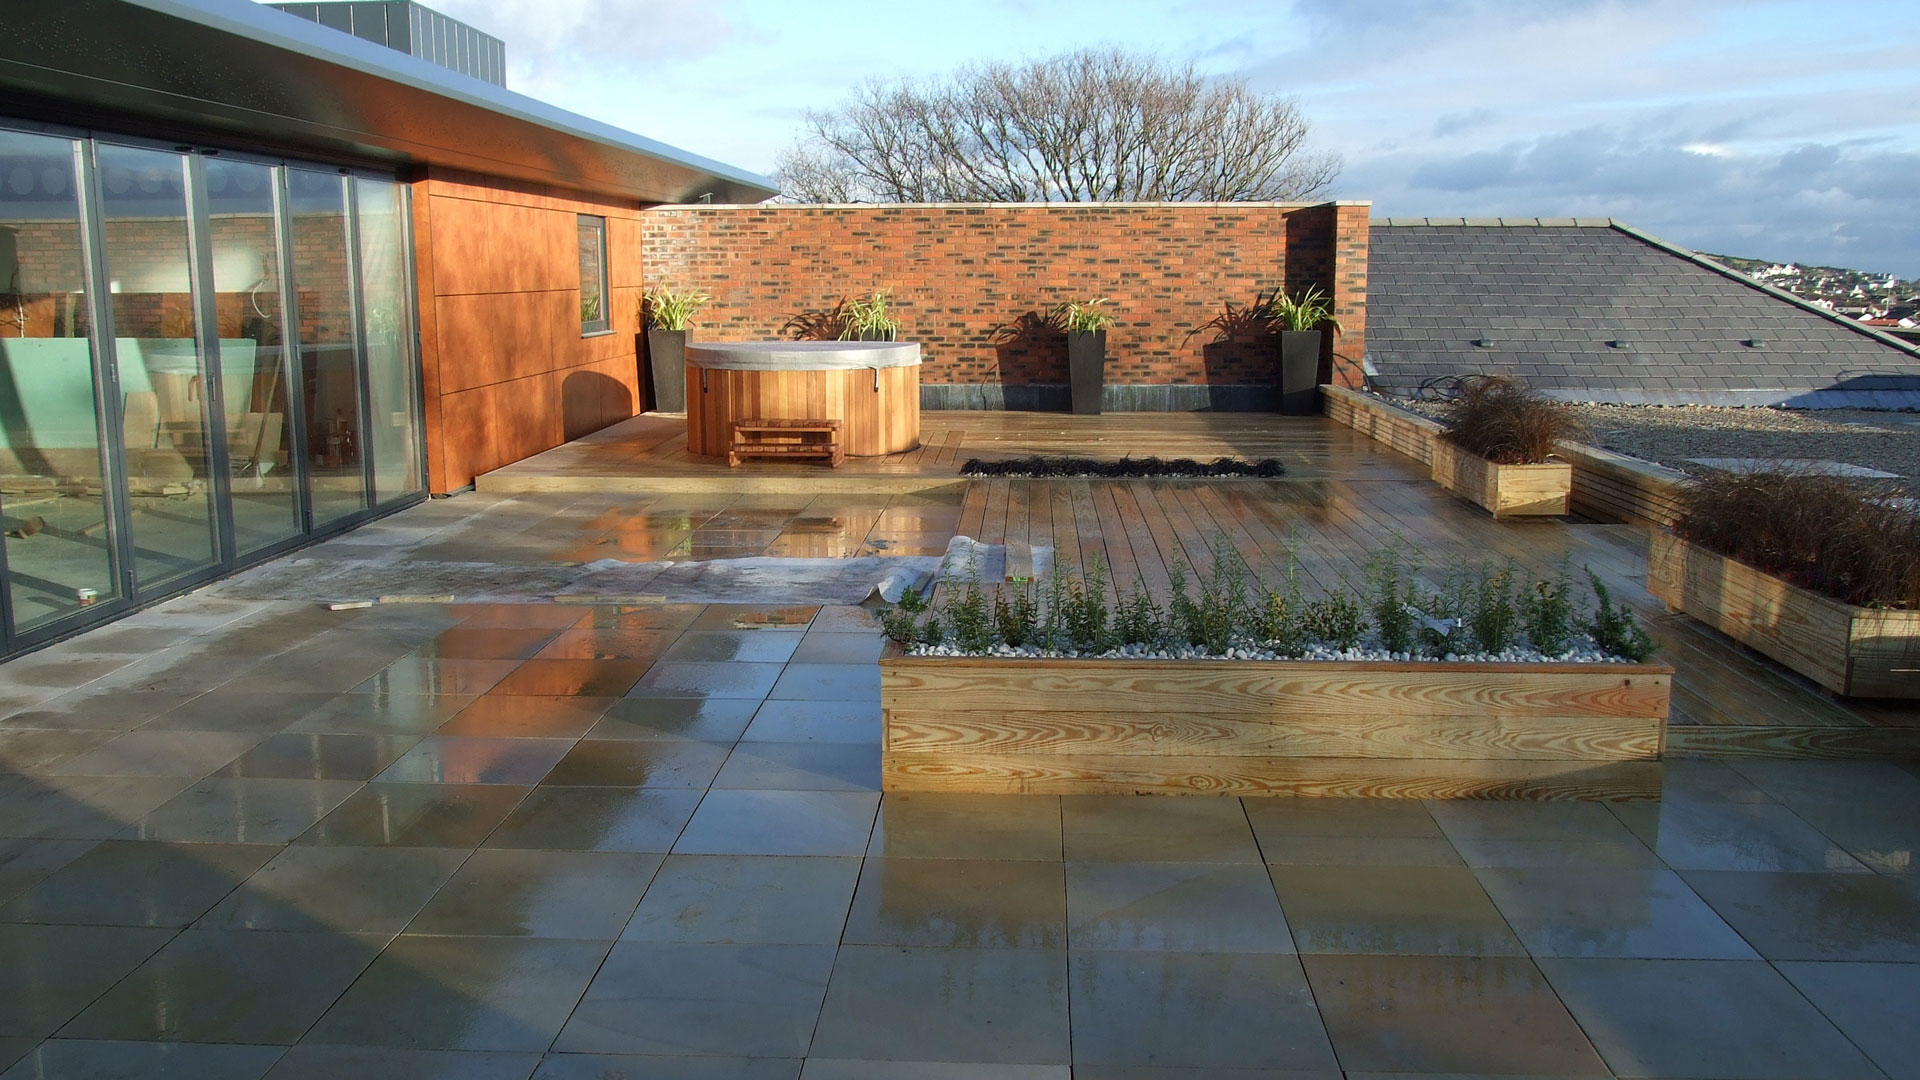
The modular sections mean detailing around objects is a simple process and clean lines are created. Hard landscaping sections such as paving and decking, mounted onto Wallbarn pedestals, can be added to the area to allow for regular access. As everything is suspended on top of the deck, drainage is uninterrupted.
An installation guide for M-Tray® is here.
More help to prepare the roof, how to connect the trays and how to install the edging.


